- Best for
- Small balconies, shared patios
- Season
- Spring to Fall
- Weatherproof
- Mostly (with proper storage)
- Cost
- Under $200
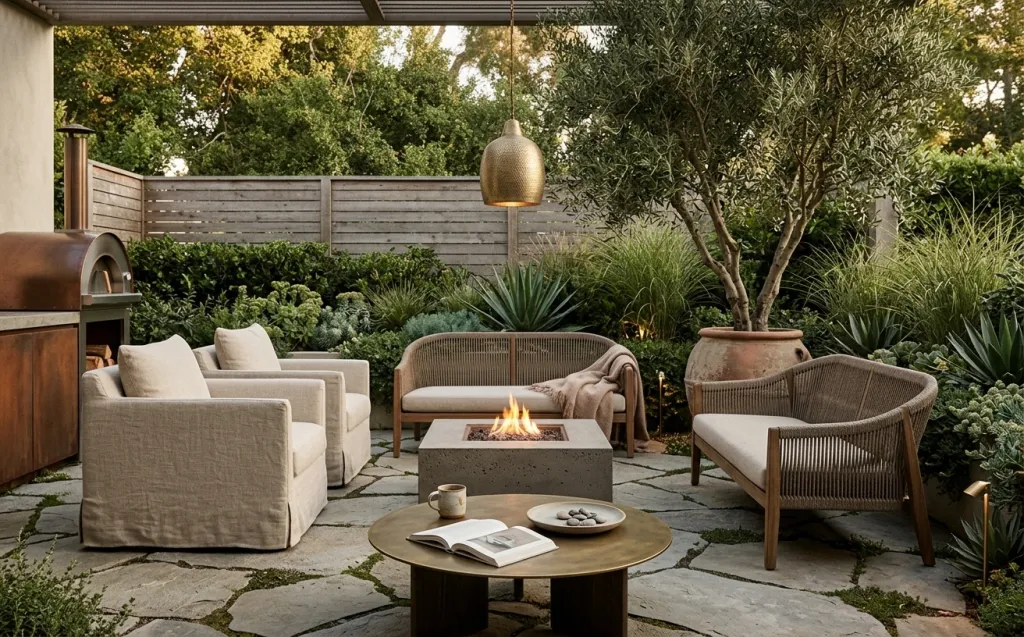
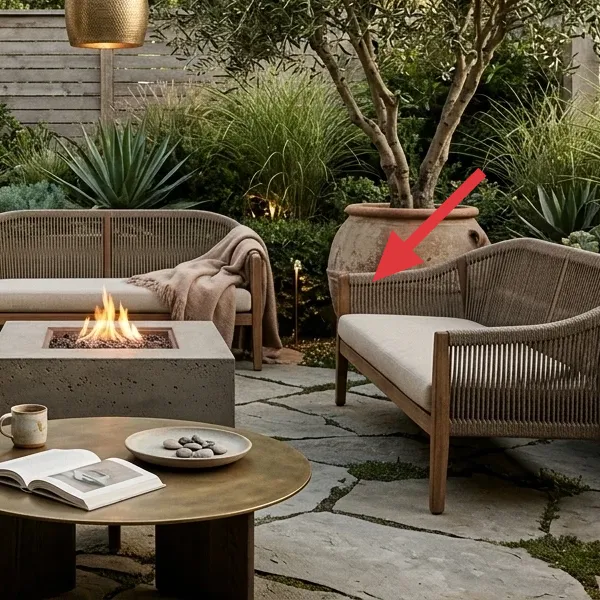
Why your outdoor space is the best room of 2026
As urban living spaces shrink and shared housing becomes the norm, the desire for a personal escape grows stronger than ever. In 2026, we're seeing a huge trend towards reclaiming often-overlooked outdoor areas – balconies, small patios, or even a corner of a shared yard – and transforming them into functional, calming sanctuaries. Think 'biophilic design' meets 'micro-living': incorporating natural textures like woven rope, linen, and terracotta, along with vibrant greenery, to create a sense of grounded tranquility. This look isn't just for homeowners; it's perfectly achievable for our shared-housing audience with smart choices like lightweight, foldable furniture and clip-on lighting that respect rental rules and tight budgets.
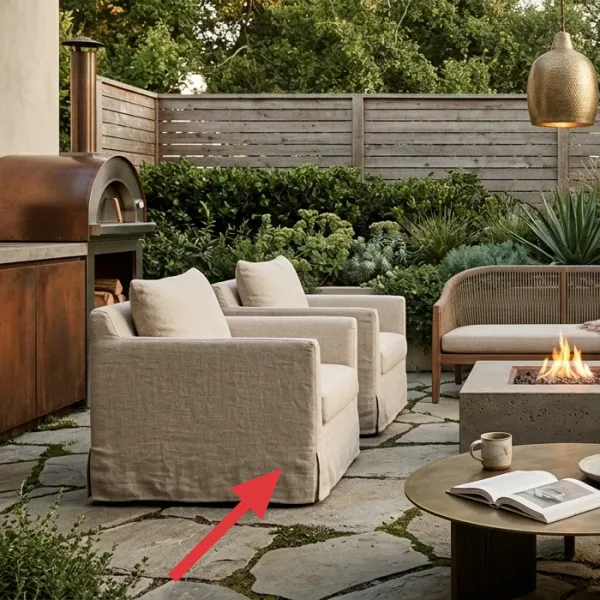
Layer 1 — Portable Seating ($40) Comfort that moves with you
Forget heavy, impossible-to-move patio sets. For shared spaces, a comfortable, lightweight folding chair is your best friend. Look for options with a sturdy frame and weather-resistant fabric that can be easily stored or moved indoors during inclement weather. These chairs offer surprising comfort and allow for flexible arrangements, whether you're hosting a friend or just enjoying some solo time.
Choose multi-functional pieces
Select chairs that can double as extra indoor seating if space is tight, or look for models with built-in side pockets for holding a book or a drink.
Layer 2 — Small Outdoor Table ($30) Your personal landing spot
Every cozy outdoor nook needs a spot for your morning coffee or a good book. A small, foldable outdoor side table is perfect for this. Opt for materials like powder-coated metal or treated wood that can withstand the elements without needing constant care. Its compact size means it won't overwhelm a tiny balcony, and it can be tucked away when not in use.
Check for stability
Even lightweight tables should be stable enough to hold drinks and small items without tipping over in a breeze. Look for a wide base or a design that locks into place.
Layer 3 — Ambient String Lights ($20) Instant mood setter
Nothing creates a magical outdoor ambiance faster than string lights. For renters, solar-powered or battery-operated options are ideal, as they require no outlets and no permanent installation. Drape them over a railing, around a plant stand, or simply along a wall to cast a warm, inviting glow. They transform an ordinary space into an evening retreat.
Go solar for ultimate flexibility
Solar-powered string lights charge during the day and automatically turn on at dusk, offering hassle-free lighting without needing access to outdoor outlets.
Layer 4 — Outdoor Throw Blanket ($25) Cozy textures for cool nights
Even on summer evenings, a slight chill can make an outdoor space less inviting. A durable, lightweight outdoor throw blanket adds a layer of comfort and style. Choose one made from weather-resistant materials like polypropylene or a quick-drying blend that can handle a bit of dew or an unexpected sprinkle. It's an easy way to bring indoor coziness outside.
Avoid delicate fabrics
While a regular throw blanket might look nice, a delicate indoor fabric will quickly get ruined by moisture, sun exposure, and dirt. Invest in a truly outdoor-friendly material.
Layer 5 — Potted Herb or Small Plant ($15) A touch of living green
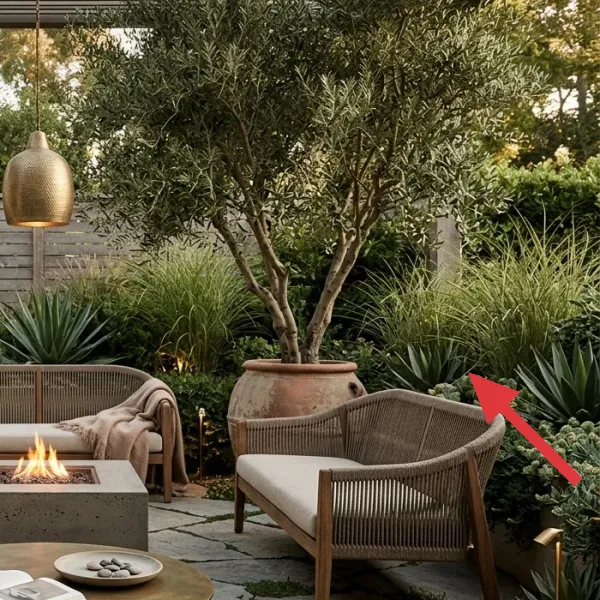
Bringing a living plant into your outdoor space connects you with nature, even if it's just a small corner. Instead of a massive, heavy tree, opt for a portable potted herb, a small succulent arrangement, or a compact flowering plant. Choose a lightweight plastic or terracotta pot that's easy to move when you relocate. Herbs like basil or mint also offer a lovely scent and practical use.
Container gardening is your friend
Focus on plants that thrive in containers and don't require deep roots. This makes them easy to repot and transport when it's time to move.
Layer 6 — Outdoor Area Rug ($35) Defining your zone
An outdoor area rug helps define your personal zone, even within a larger shared space. Choose a smaller size, like a 3x5 foot rug, made from durable, easy-to-clean materials like polypropylene. It adds texture and color, making the area feel more like an extension of your indoor living space. Plus, it's easy to roll up and take with you.
Look for quick-drying materials
Outdoor rugs should be specifically designed to resist mold and mildew. Polypropylene is a great choice as it dries quickly and holds up well to sun and rain.
Layer 7 — DIY Decorative Tray ($15) Personal style on a dime
A decorative tray is perfect for corralling small items like a candle, a mug, or a small succulent, adding a touch of curated style to your outdoor table. Instead of buying one, you can easily make a personalized concrete tray that looks high-end but costs very little and is perfectly portable.
Make it instead of buying it
Create a chic, minimalist concrete tray to display small items on your outdoor table, adding a custom touch to your portable oasis.
Materials
- Rapid-set concrete mix — 1 lb bag — Home Depot — $7
- Plastic containers — 2 sizes (one fits inside other) — Dollar Store — $2
- Petroleum jelly — small tub — Drugstore — $3
- Disposable mixing bowl & stir stick — Home Depot — $2
- Sandpaper — fine-grit, 5-pack — Home Depot — $4
Steps
- Lightly coat the inside of the larger plastic container and the outside of the smaller container with petroleum jelly, ensuring even coverage.
- Mix a small batch of rapid-set concrete according to package directions in the disposable bowl, aiming for a thick, pancake-like consistency.
- Pour about 1 inch of concrete into the larger container, tapping gently to release air bubbles.
- Carefully center the smaller, greased container inside the wet concrete, pressing down slightly to create the tray's recess.
- Allow the concrete to cure completely (typically 24-48 hours), then carefully remove both plastic containers.
- Smooth any rough edges or imperfections with fine-grit sandpaper for a polished finish.
Total DIY cost: ~$15 — saves about $10 over buying.
The cost, layer by layer
| Layer | Item | Cost |
|---|---|---|
| 1 | Folding outdoor chair | $40 |
| 2 | Folding metal side table | $30 |
| 3 | Solar string lights (10 ft) | $20 |
| 4 | Outdoor throw blanket | $25 |
| 5 | Potted basil plant (with pot) | $15 |
| 6 | Outdoor area rug (3x5 ft) | $35 |
| 7 | DIY Concrete Tray materials | $15 |
| Total | $180 | |
If you're looking to save even more, consider finding a sturdy stool or small table at a thrift store for Layer 2, which could bring that cost down to around $10–$15. For Layer 4, repurpose an old bath towel as a temporary outdoor throw if you have one handy.
What worked, what didn't (across the whole room)
Building a personal outdoor oasis when your lease prohibits permanent changes and you know you'll be moving soon presents unique challenges. Here’s what we found worked well and what proved a bit trickier.
What worked
- Focusing on truly portable items meant easy setup and peace of mind about the next move.
- Choosing weather-resistant materials made the space low-maintenance and durable.
- Solar-powered lights were a game-changer for ambiance without needing outdoor outlets.
- Adding a small plant brought immediate life and freshness without being a burden.
- The DIY concrete tray felt high-end and personalized for very little cost.
- Using a small outdoor rug clearly defined the space, making it feel intentional and cozy.
- Keeping the budget under $200 made the project accessible for students and sharers.
What didn't
- The temptation to buy larger, more comfortable outdoor furniture was hard to resist initially.
- Finding truly stylish and comfortable folding chairs within the tight budget took some searching.
- Ensuring all items could withstand unexpected rain required careful material selection.
- Balconies or patios with no overhead cover meant more frequent storage of soft goods.
- Limited space often meant compromising on the number of items we could include.
- Coordinating colors and textures across inexpensive portable items sometimes felt disjointed.
What we'd skip if we did it again
If we were to do this project again, we'd probably skip trying to find a truly 'designer' look for the folding chair. While we managed to find a decent one for $40, focusing purely on comfort and portability, even if it meant a simpler aesthetic, would have saved us search time and potential budget headaches. A basic, sturdy folding chair from a big box store often serves the purpose just as well.
We'd also likely skip overthinking the plant choice. While a basil plant is lovely, a simple, hardy succulent or even a small faux plant (if real plants feel like too much commitment) would have been easier to maintain, especially for someone who might forget to water. The goal is green, not necessarily gourmet, and low-maintenance is key for a temporary setup.
Frequently asked
Can I use regular indoor furniture outdoors for a temporary setup?
It's not recommended. Indoor furniture, especially upholstered pieces, will quickly get damaged by moisture, sun, and mildew. Always opt for pieces designed for outdoor use or specific weather-resistant materials.
How can I protect my portable outdoor items from the elements?
For items like blankets and small rugs, bring them inside when not in use or during bad weather. For furniture, look for models that fold easily for storage or consider a small, inexpensive waterproof cover if you have a larger item you want to keep outside.
What if my shared outdoor space is very small, like a tiny balcony?
Focus on vertical space! Think small folding bistro sets, clip-on planters for railings, or a compact outdoor pouf for seating. String lights are great because they take up no floor space. Prioritize one comfortable seating option and a small surface.
Are there any rental-friendly ways to add privacy to an outdoor space?
Yes! Consider tension-rod curtains (if you have a frame), tall potted plants or bamboo screens for natural barriers, or even a lightweight foldable screen. Just ensure nothing requires drilling or permanent attachment.
How do I choose plants that are easy to move when I relocate?
Select plants that do well in containers and aren't too large or fragile. Succulents, herbs, and compact shrubs are good choices. Use lightweight plastic pots or terracotta pots with drainage holes. Plan to repot into smaller, temporary containers for the move if necessary.
